Beginner's Gardening Guide
April 6, 2025Here I present to you my very imperfectly written and abridged step-by-step process of how I grow many veggies and flowers. This process will vary wildly depending on location, climate and motivation. Nevertheless, I have a lot of fun writing about things like this, and I hope to complement the smaller details with separate blog posts in the future. I hope there is something in this guide that proves beneficial!
Getting started
It’s important to find tools that are suitable for you and your own unique situation. Just your hands alone are a great vehicle for a great many things—such as scooping and raking. There’s no need for an immediate collection of forks, weeders, or rakes.There are plenty of options in the gardening world when it comes to utilizing tools to match your abilities. I personally don’t have the strength for larger tools, so I work slowly and steadily with handy little shovels! My favorite shovel is sharp and slim—perfectly suitable for digging in harder clay and uprooting weeds!
1. Indoors
If you’re from a colder climate like me, starting indoors might be necessary to get a proper season out of your beloved crops. Some slow-growers include chili and bell peppers, tomatoes, and bigger flowers such as dahlias. Even if you don’t live in a cool place, starting indoors may still prove beneficial for slow-growers.☀️ Grow Lights
Your summer seedlings might need a little bit of extra help in places with long, dark winters. Light up your world with a grow light—your very own indoor sun! You might enjoy it as much as your seedlings do! A window-sill in a bright sunny spot could also do the trick, especially as spring approaches. Watch out! If your plants end up long—or leggy—they are telling you they are not getting enough light. It’s not the end of the world, but your plants might need some extra time to grow strong, and handling leggy seedlings is much more precarious of a feat.
🌱 Early Seedlings
Are you ready to start your growing season early? Your best bet is to begin with reading your chosen seed packet. Each plant has its own unique needs, but the process of starting them is usually similar.
- Start with a small pot or plant plugs.
Anything can be a pot as long as it has sufficient drainage holes. - Wet the soil before planting to prevent disturbing the little seeds later.
- Check your seed's desired depth of planting—some only want to sit on the surface!
- Cover your pot with clear plastic or a lid, making sure there are aeration holes.
- Place in a bright, warm spot and water gently when the surface looks dry.

2. Thinning, Repotting & Transplanting
If you have sowed multiple plants per pot, thinning is the act of separating or discarding crowded seedlings. Leaving one seedling per pot allows for stronger, healthier plants! Crowded seedlings can be separated by hand to be distributed into their own pot. If this feels scary, simply snipping off (thinning) the weaker seedling is also viable. I like to keep every seedling I have, transplanting each one early in their lifetime.Repotting or transplanting can either be your favorite thing—or the most tedious part of the entire process. For me, it's the former—I love getting my hands dirty! Once your plants start to grow to a nice size and you spot their roots breaking out of their former shell, it's time to pot up your plants.
Method 1: If your plant is bursting to come out of its former pot, you may have success by simply squeezing along the pot gently. If all goes well, your plant will pop right out when you turn the pot upside-down. Simply place the entire thing in your next, bigger pot full of new, fresh potting mix.
Method 2: If you are transplanting for any other reason than an outgrown pot, you might have to add more care to digging your seedling out of its former home. A small shovel or your fingers might suffice, making sure the roots come out with some of the old soil attached to disturb them as little as possible. Dig a hole into a new pot full of new, fresh potting mix and gently place your seedling inside.
Don’t worry about breaking a few roots! Plants pretty much always recover perfectly from a transplant, even if it looks a little sad initially. If it fails, which is still a possible risk, this is the time when having several seedlings helps!
3. Outdoors
🌧️ Hardening
If you are sowing directly outdoors, you can skip this step.Your seedlings are ready for the great outdoors! But it appears that you have spoiled them a little too much—and they will need some easing into a place of harsher weather. All types of unexpected things can happen to your plants without hardening, including sunburn and higher disease susceptibility.
Harden your plants by slowly introducing them to the outside for a week. I usually place them on my porch for about 4-6 hours of sunlight, increasing the amount of outdoor time each day before moving them to their final location in the garden, whether it be in pots or raised beds.
Yes. This is very tedious. Remember to follow your heart and your ability—most plants recover just fine with the proper aftercare!
☕ Potting soil
Or topsoil, soil, dirt, earth… In Swedish we say: “Beloved child has many names.”Soil is the bearer of all the life you put in the ground, but it doesn’t have to be so complex. My first garden consisted entirely of recycled dirt with dubious nutritional content. With frequent fertilizing, the plants still thrived! You can improve or work with your soil in several ways. Depending on your native soil quality, you have different options when it comes to creating the ultimate growing space.
Raised beds are a great method to assure great soil quality, with the bonus of raising your working surface. For this method, you may have to buy quite a lot of soil to fill your beds, but once they’re ready you can expect great results!
Mulching is a technique where you load your existing soil with nutrition. Mulching consists of various garden waste you layer on the ground or in your planters to function as a slow-release fertilizer. It may take a few years for this to greatly affect your overall soil quality, but it’s a great method both for nutritional content and keeping your planters moist. Covering the bottom of your planters with various organic materials is generally a great idea to save on the overall soil cost!
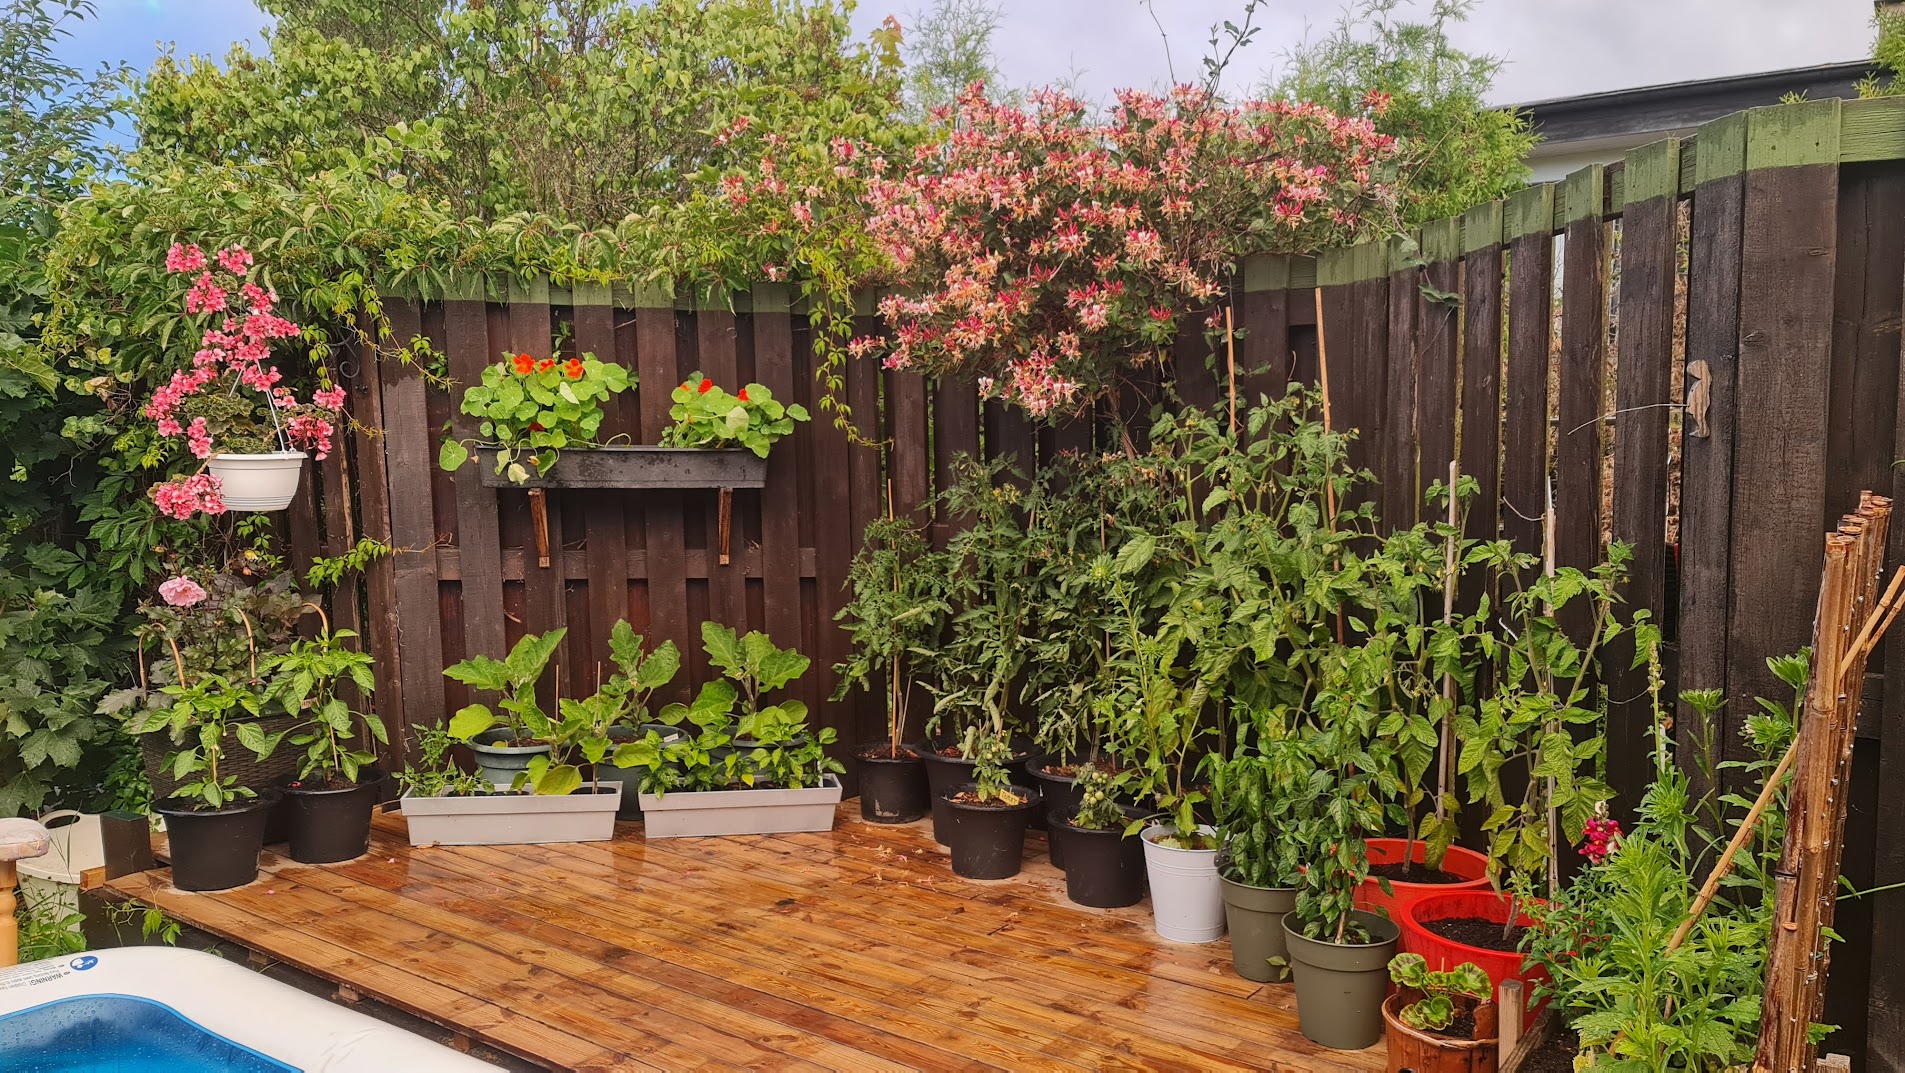
🥔 Pots & Beds
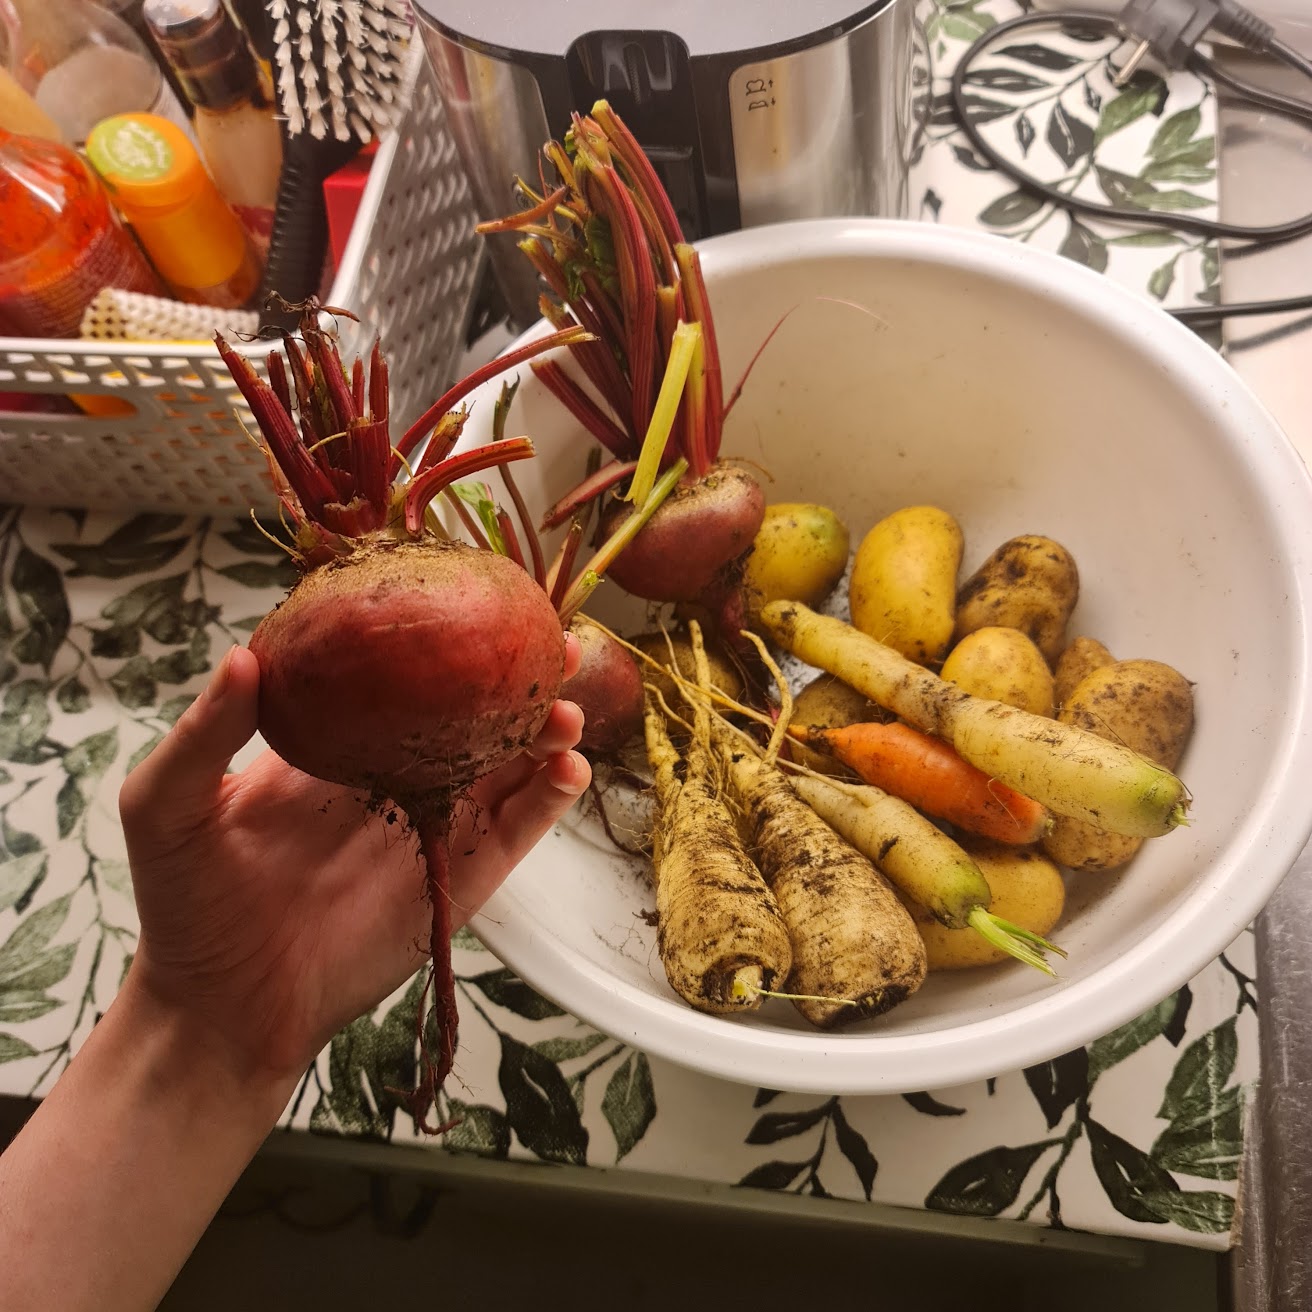
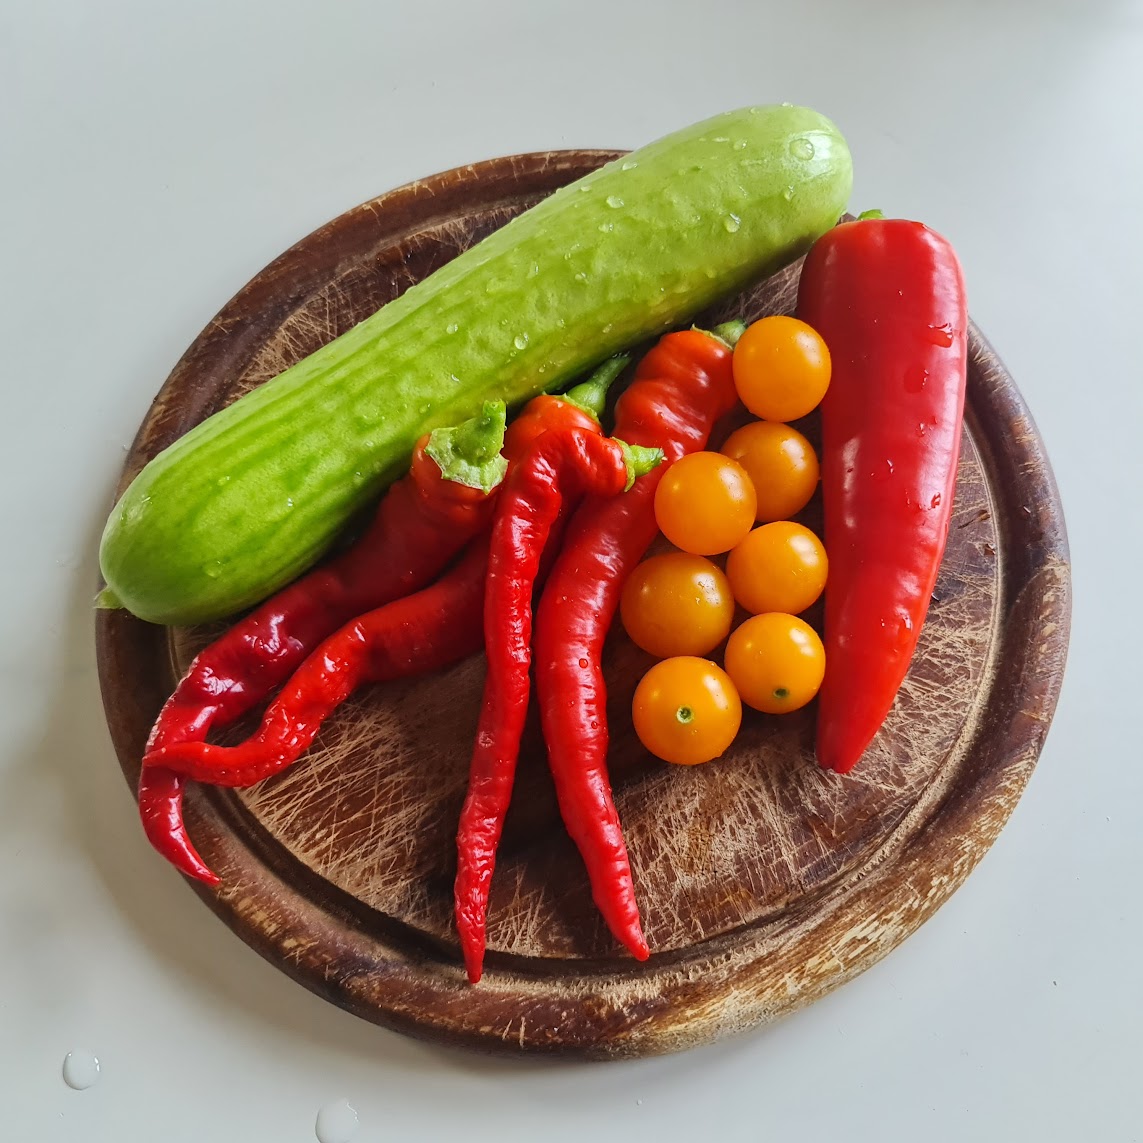
There are many ways to create your first container garden.My first venture into the gardening scene was using simple plastic pots. This had its advantages and its downsides. Pots require a lot of transplanting work unless you are satisfied with the stunted plants resulting from crowded roots in smaller pots. The advantages are the lesser amount of physical labor put in, the lower amount of weeding required, as well as the small space they occupy. If you only have a balcony, just a few 5-10L pots work a charm for growing smaller tomato varieties, peppers, and cucumbers. In deeper pots, some even grow carrots and potatoes! Leafy greens and herbs do well in pretty much any size pot.
There are many techniques to grow plants directly in your native soil, which I have yet to have gained much experience in. As I live in a place with rather fine but quite hard, clay-based soil, I am mulching the ground before sowing in it. This technique doesn’t require tilling—even if doing so would prove much more beneficial to your vegetables. I am using these spaces to grow potatoes, as they are extremely adaptable. In a couple of years, these mulched beds will have improved the underlying soil as well—the potato plants and their tubers softening the soil for me!
4. Watering & Fertilizing
Watering can be hard work. I am fortunate to not live in a place that gets very dry, that has plenty of cool, humid nights with rainy summers. This makes the gardening effort much less stressful, as I simply have containers of water lined along my garden for convenient watering-can action as necessary.It does get quite heavy and sweaty—but you build some muscles in the process!
My go-to fertilizer is liquid fertilizer, as it is most convenient in the process of watering from a can. Simply read the back of the bottle, and fill a capful of fertilizer in your watering can. This must only be done once a week or every two weeks, depending on the potency. These come in many varieties, but I often settle for an all-purpose fertilizer.
Compost is for sure the cheapest fertilizer, if you have put in the work to create one. This brings the disadvantage of not knowing if the nutritional content is balanced or sufficient. I only use compost to fill new planters before planting rather than as a frequent fertilizer.
Manure is quick, easy, and potent. It does however require buying big, heavy bags of it. My go-to is a blend of cow and chicken manure, that isn’t strong enough to harm sensitive plants. When I feel lazy I take a big scoop and line my larger planters, letting watering or rain do the work in incorporating it into the ground for a couple of weeks. Big plants love this!
🍂 Mulch
More mulch! I’ve already touched on the act of mulching as a technique in building your first container garden, but mulching can be used for so much more. Any organic material you’re able to find in your garden can be used to layer on top of your planters for several benefits. This is mulch. Mulch functions as a barrier against the sun, retaining moisture. It chokes out underlying weeds wanting to crop up and also is a slow-release fertilizer.Mulch such as woodchips and hay can be bought for finer and more aesthetical purposes. This type of mulch can additionally be spread out along your garden paths for a cheap garden detail that keeps pesky grasses away. I’m not so fancy—so I use grass clippings or leaves, as well as old sticks at the bottom of my planters. The risk of using garden compost is accidentally bringing new weeds into your planters. I don’t mind weeding, so it’s up to you!
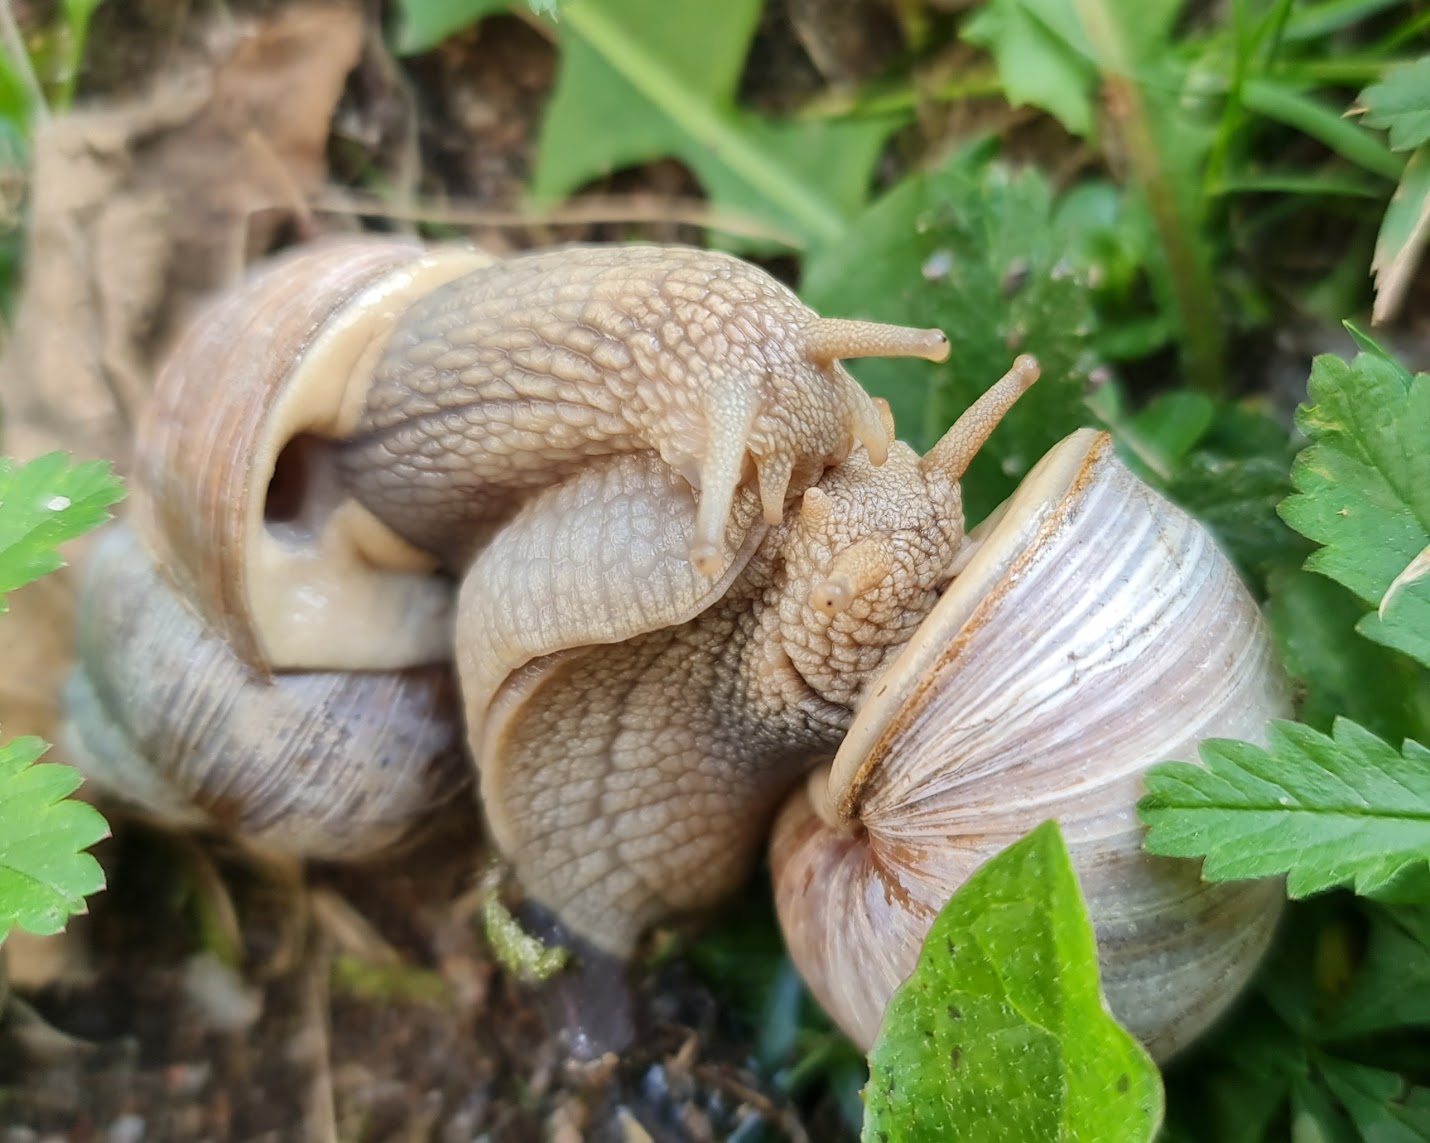 Image: Snails can be regarded as a pest in your garden, but some are friendly and quite cute!
5. Weeds, Pests & Disease
🐌 Ah, the horror! Native plants and wildlife are crossing the boundaries of your precious garden! Look, the severity of your bug-related attacks may vary depending on where in the world you live. Truth is, weeding and pest control are not the terribly stressful roadblocks of your gardening adventure that some will lead you to believe.Weeds—stay on top of it! Container gardening will drastically lower your time spent weeding.
There are various methods to utilize in your grow beds to prevent weeds, such as mulching, or preparing a protective layer of fabric, newspaper, or cardboard before you finish your bed. Most weeds just take a quick pinch with your fingers to get rid of, while others have more extensive root systems you may have to spend some extra time digging out to eliminate.
Pests—knowledge is key! There are so many pests that think your crops are delicious! Detecting pests and disease is a part of the learning process, and depending on your climate there are all types of critters.
From deer, hares, birds, snails, or microscopic bugs—they may all pose a threat to your garden, preventable or not. Of course, netting may ruin the aesthetics of your garden, but it works in a pinch.
Remember, some creatures in your garden are invaluable facets of your local ecosystem, even if they can be a nuisance!
Some pests can be tampered with in natural ways! Companion planting is an excellent deterrent, as some plants have built-in pest protection, such as tomatoes, garlic, and other smelly herbs. Line your garden with these tasty repellants for an extra layer of protection.
Not sure where or how to start your gardening journey? Check out my other blog post, Top crops + tips & tricks!